Dock on a Lake
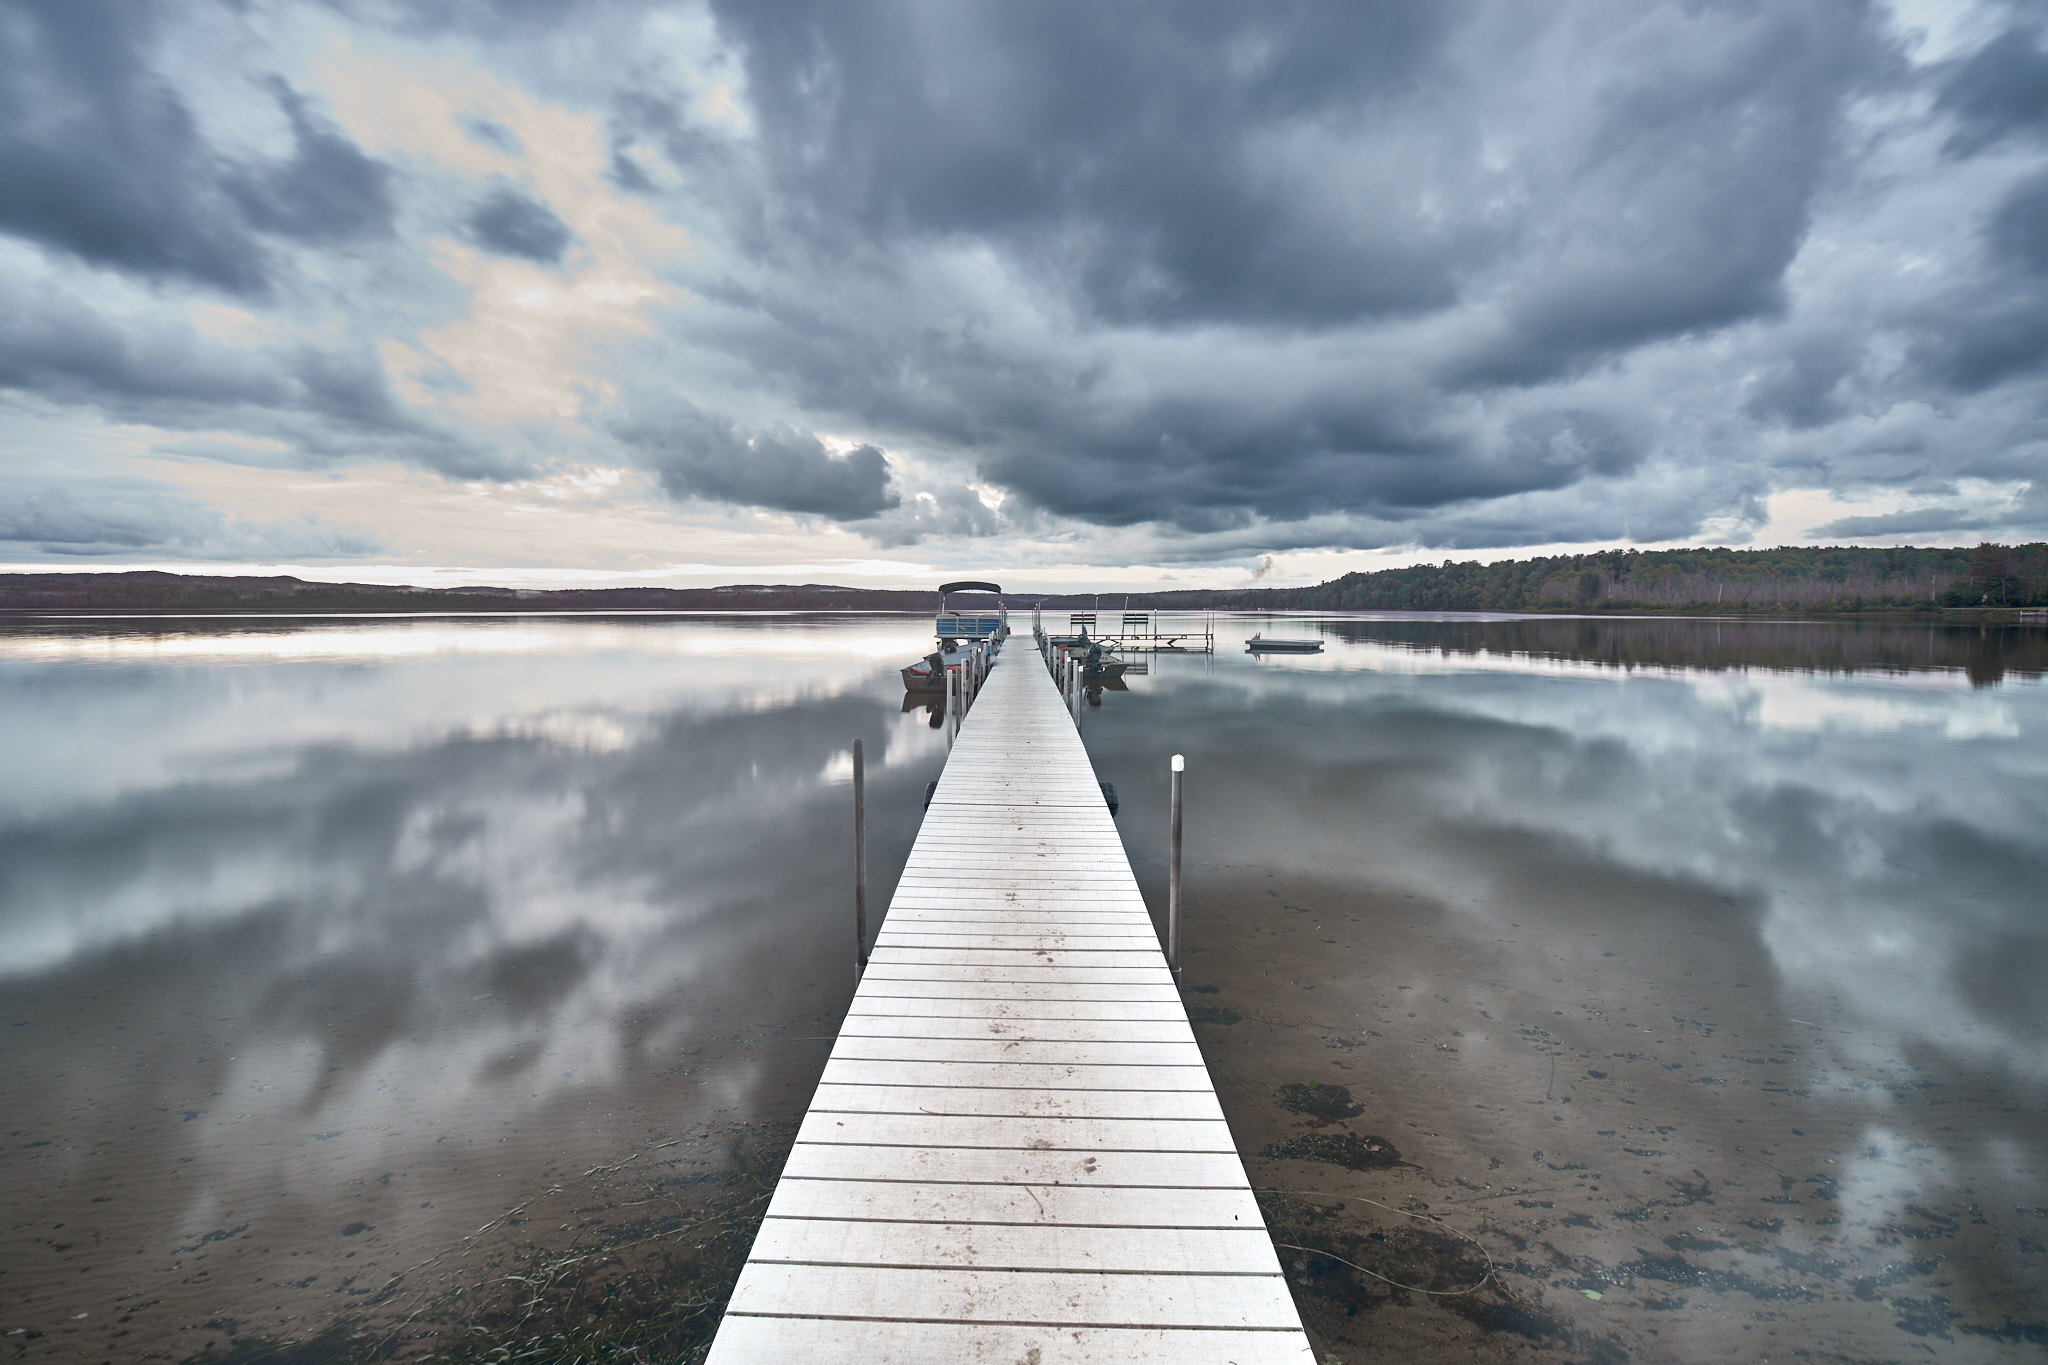
(the Finished Photo)
A "How and Why" Series
By George E. Norkus
October 23, 2022
A "How and Why" Series
By George E. Norkus
October 23, 2022
Many people have seen many a dock on a lake photo. This basic look has been used for many years in photos and on several TV commercials. The first day we were there I saw a "dock on a lake". I figured one of the days would be good enough for me to attempt taking that picture!
We planned this trip for months in advance, it could not be changed due to rain. We found out that it had been raining the entire past week and not due to clear up until just before we were to head home some 400 miles away.
Sure enough, two days prior to leaving, the sky started to clear up. The clouds still hung around making everything have a bluish tint to it. I decided to give it a shot.
Heading to the dock with my camera, everything look reasonably good. Looking around I found the perfect spot for the photo. The only real problem was the occasional drop of rain water falling on me.
The wind was still blowing only from my side of the lake instead of from the opposite direction. This made the water very smooth while the clouds moved along. That combination turned out to be better than I expected. With a slower speed of about two seconds, the clouds would take on a puffy look to contrast with the lake water.
Not bringing my tripod, I had no choice but to prop my body up against a sturdy tree and literally hold my breath. I guess I was lucky. The several shots at varying speed and aperture settings all turned out well but would still need some modification work.
After getting home I chose the one I preferred. It had a lot of problems to it that at the time I had no control over, so I turned to my post editing software to help out.
As a side note, I used Capture One software. Many photographers will just stop reading right here because it is not "their" software.. That is a big mistake! Most post edition software packages have very similar processes. For instance; they all crop photos, they all lighten or darken photos, and they all correct white balance, etcetera. All you need to do is to is to use the proper controls to do the same or similar thing even when that action is called something else. This holds true for equipment also. Where you might say speed light, others might say flash. Then again a studio photographer might say it's a strobe. They all produce light! The same applies to most editing software.
Figure out what made you take that photo in the first place. Sometimes you will have second thoughts after looking at it on a larger monitor. Whichever you choose, that should be your main subject. It's the object you want others to notice and pay attention to. By using little known tricks, you can keep many people looking at the subject and be made into something the viewers eye gravitate towards.
Consider how you expect to use the photo if you know at all. For lack of reason, most will end up being the general size of what the camera will do. That is probably going to end up just for the internet and a cellphone. Others might make it for a small desk photo or a larger wall hanging in a living room. When applicable, this is where you might think about cropping to a size you want to fit a frame. I said might because often when somethings are corrected for a level horizon, that might have an effect on the overall image dimensions. In which case additional cropping would come at a later time.
For my "Dock on a Lake" photo, other than for the internet I didn't have a special size requirement. All I wanted was for the viewer to enjoy my photo as much as I do.
After checking for an evenly centered and vertical dock as my first modification. I found some wonderful things. The dock was only slightly right of center but very much vertical. This is something I strive to get right in camera. With a small amount of cropping on the left and top, it brought the dock to the mid point of the photo. The small amount of cropping on top didn't really matter to the final image.
With the distance trees and the closer shore on the right side, there was no appreciable way to notice if the horizon was level or not.
Color correcting was the main amount of editing needed for this image. I'm sure you have noticed the strong blueish cast to everything. Using a clean portion of the dock, I made a white balance correction. This also made other colors more apparent. With about one and a half stops of negative exposure, the sky took on a darker appearance. Much more like what I remembered it to be after the former rainy days. Unfortunately everything below became far to dark. It had to be lightened.
Depending on you train of thought, this action could have been performed with an opposite outlook. Simply by lightening the close parts and then darkening the sky to blend in. Either way works fine.
For me the dock became very dark. Here is where I applied a mask over the dock and over several of the small white plastic caps atop some of the standing poles. Not every pole had white caps on them. I liked the way that added to the originality of the photo. Sort-of an unorganized mess. LoL
To a minor amount, I increased the exposure of the masked dock and caps to bring out the true white color. Remember that care must be used when doing something like this. Too much additional exposure will make the white look fake and that is not good!
You might want to add a small amount contrast. That helps keep the viewer's eye on your photo and at the same time diminishes some of the haze. By returning a bit of blue color to the clouds and adding some green to the distance trees, more interest will be added. Do this to your liking since it is very subjective. With all this you should be close to having a finished product worthy of showing to others.
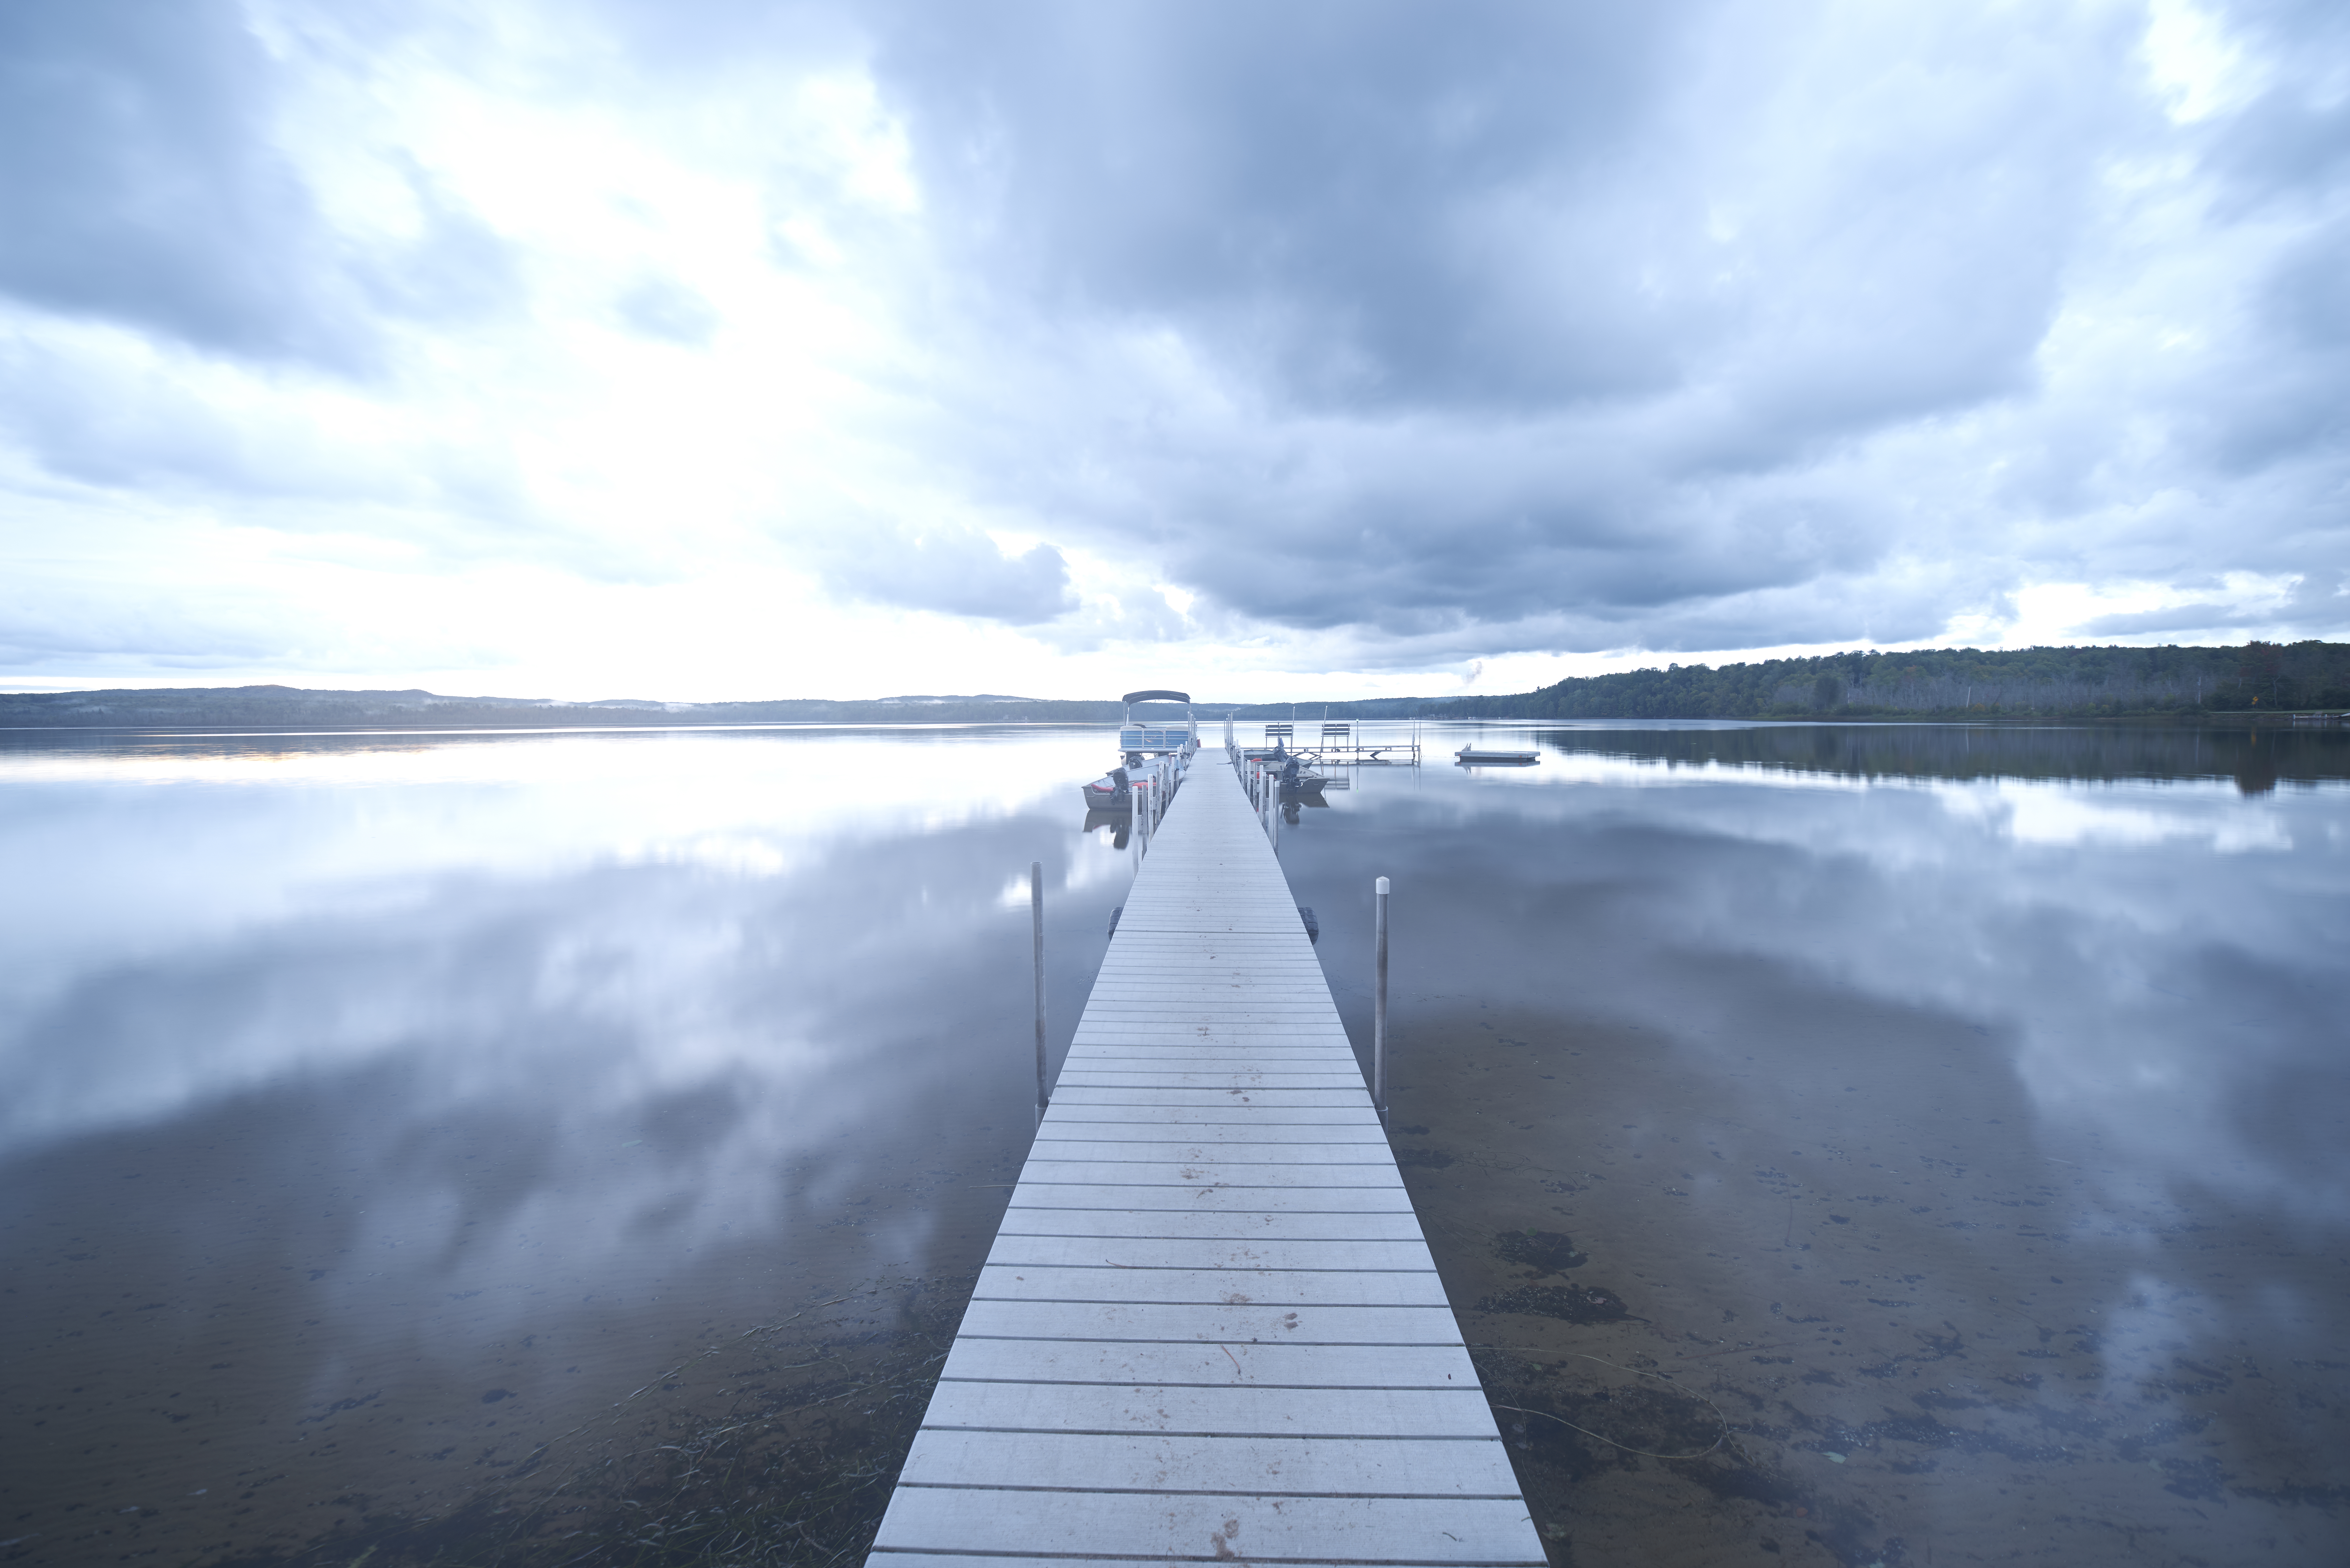
My before and after photos can be compared by looking at the original photo and the finished product at the very beginning.
Good luck with your images!